Intro
I setup my Neptune 3D Printer in January.
My focus should be on producing useful things:
- Not easily available to buy
- items that can be made to meet my specific requirements
- having a purpose, beyond short-term entertainment
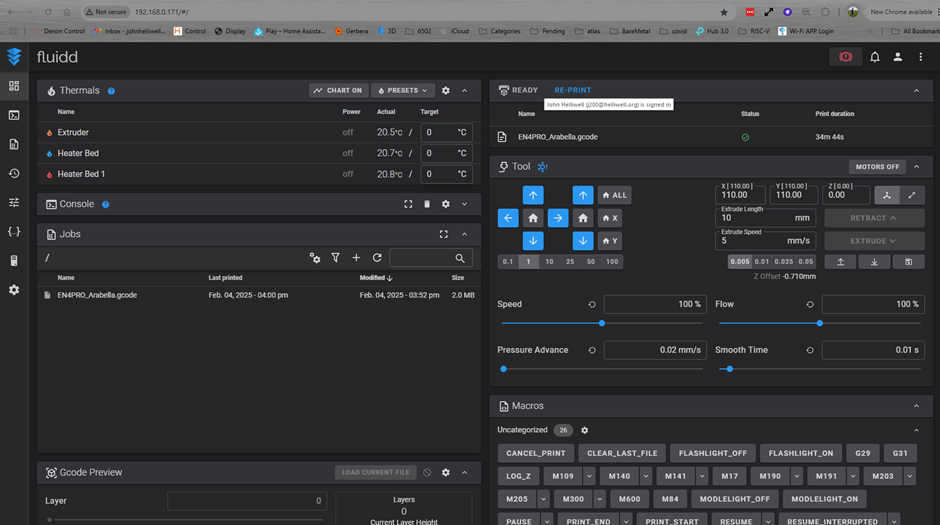
Software

The printer comes with Elegoo Cura which converts object files from STL (standard triangle language) format so that they can be printed. STL files define the shape of an object as a number of flat triangular surfaces; they dont contain scale or colour information as standard. Cura is a popular software package to convert the shapes into instructions in GCODE format suitable for a 3D printer. The printer works by printing a layer (i.e. fixed height or Z-coordinate) of filament and Cura creates "slices" through an object (in STL format) and saves them in a GCODE format file so that the printer can produce it. The software is very clever and adds an internal lattice within objects to strengthen them and stop them collapsing.


Boxes
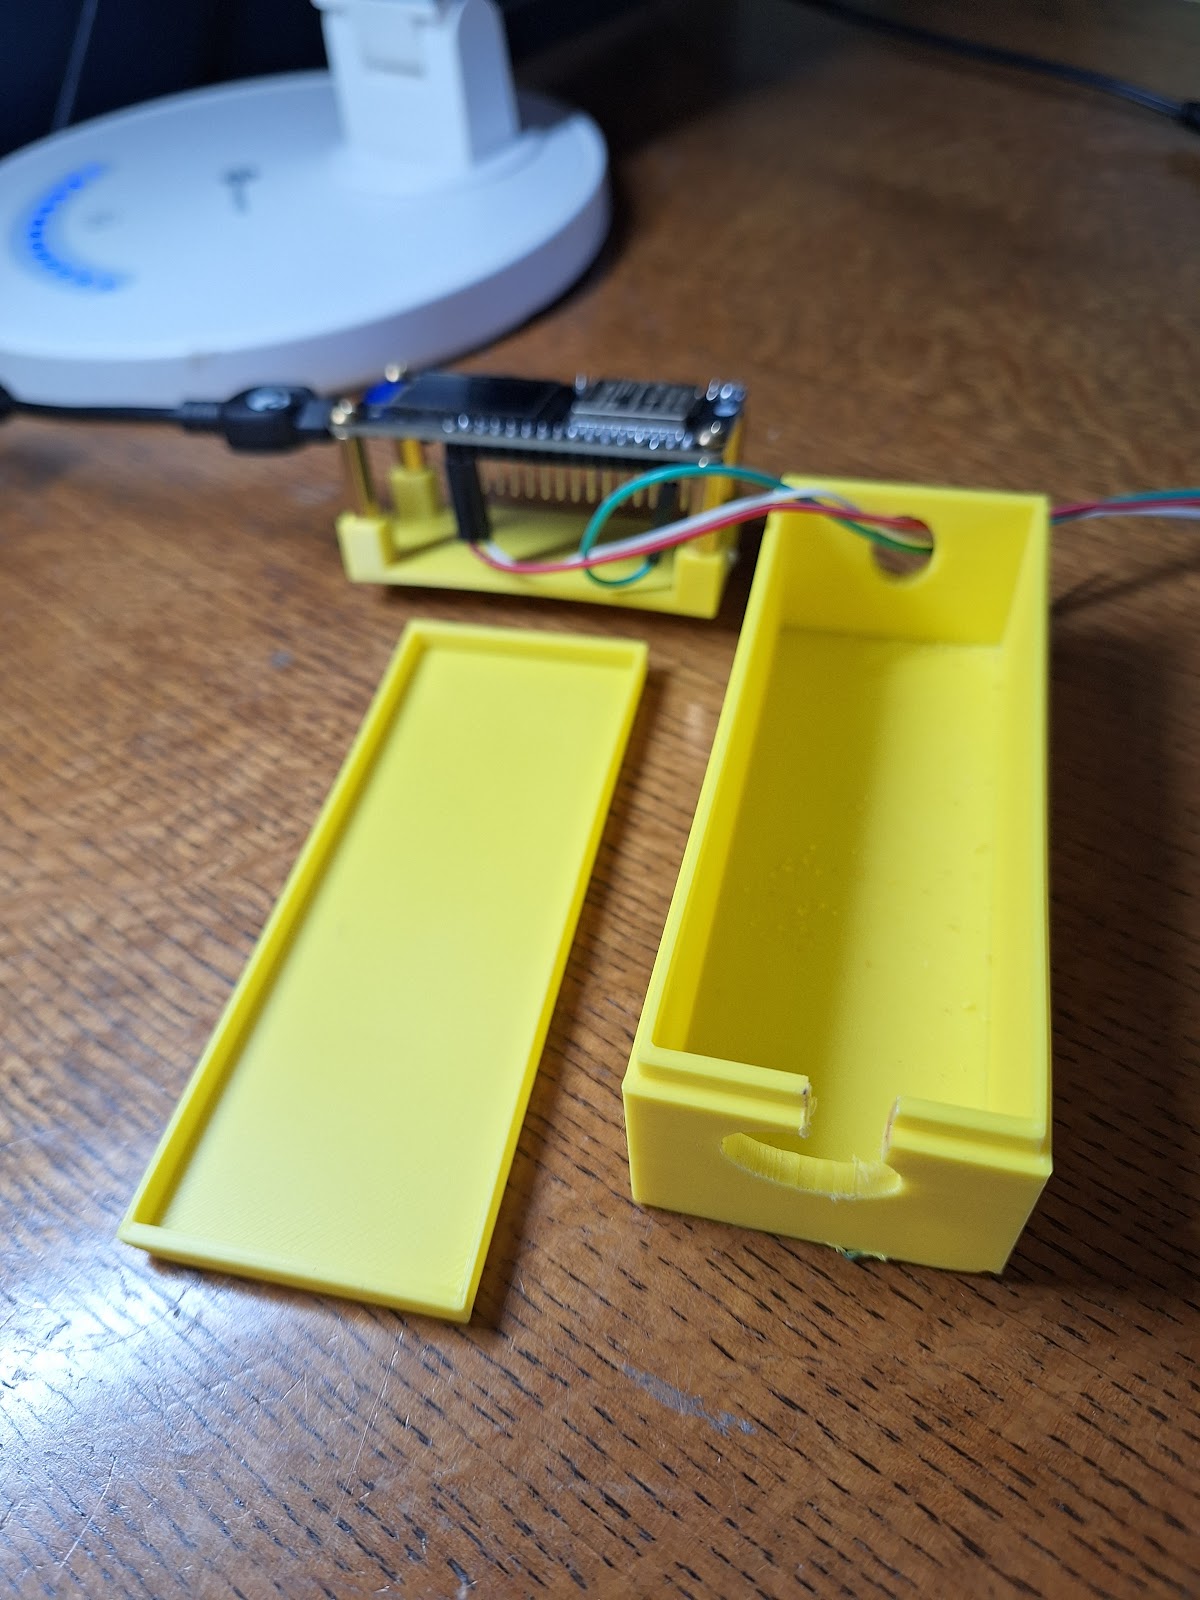
The first useful item I need to make is a box to hold an ESP32 development board. I have a variety of PCB projects either soldered myself or purchased which dont have their own boxes. This is fine whilst developing but sub-optimal for long-term use. The specific box needs to have space internally for the board and connections. There need to be four posts on the internal base of the box to screw the board on and suitable holes should be provided for wires in or out. The box will have a tight fitting lid.
I first looked at models available on the internet, there are many types available. The main problem is making a box which is the right size, with posts for the board in the right place. It is usually possible to stretch / squash dimensions on the model to make them appropriate but significant trial and error is required. I decided to use a standard box+lid design and build my own posts on a base which will fit into the box.
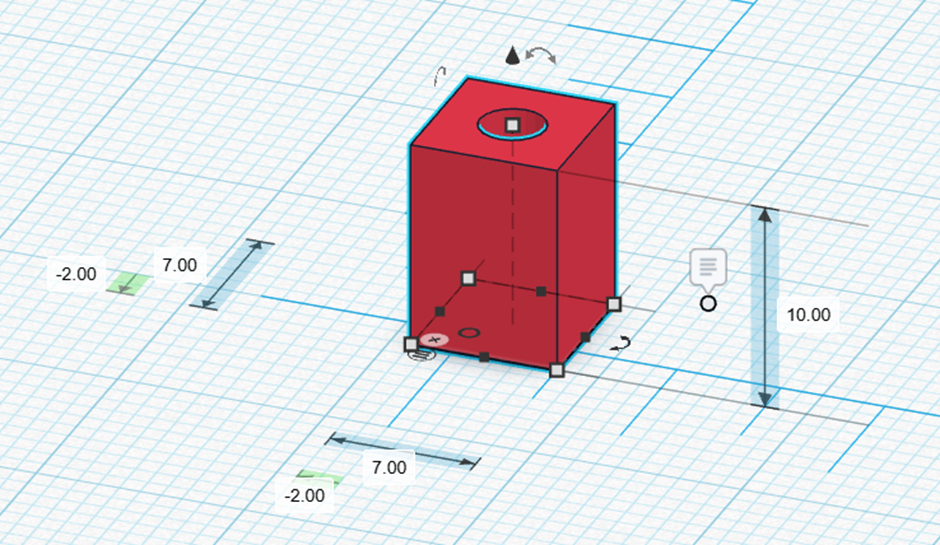
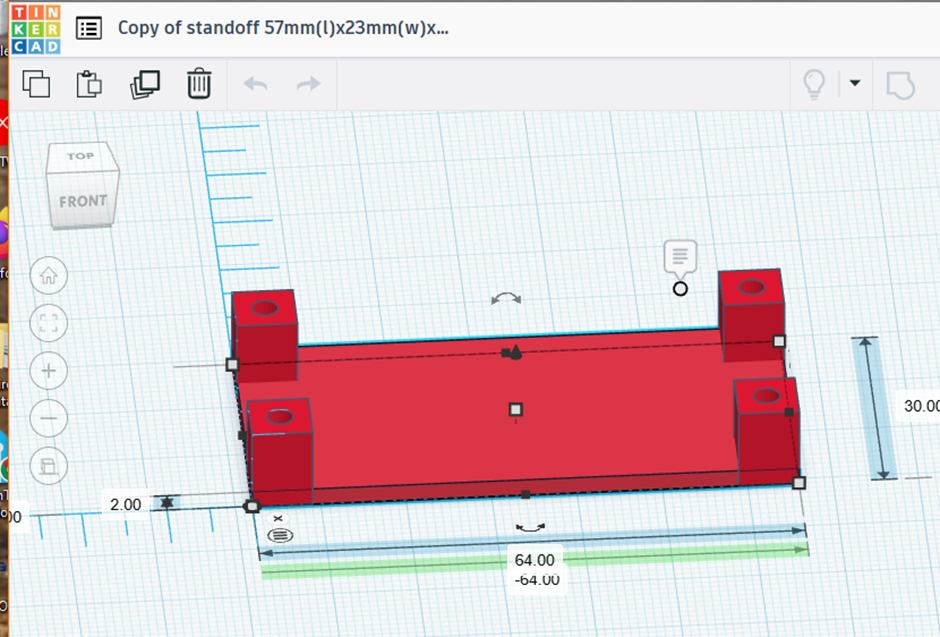
I decided to make the posts shorter and use a short standard brass M3 post on top to attach the board to. This works better to avoid the posts interfering with components on the board.

The board connects a programmable LED strip which is on my desk. The result looks great to me, very professional.

No comments:
Post a Comment